2.1 Woofer Circuit Diagram Datasheet
Master electronics repair !: onkyo 7.1 ch Master electronics repair !: onkyo 7.1 ch Circuit diagram subwoofer cars electronic circuits board fig electronics amplifier car wiring projects layout sound schematics speaker single wire pcb
Master Electronics Repair !: ONKYO 7.1 CH - HTP680 – HOW TO ADJUST THE
Intex woofer circuit Woofer idling onkyo adjust Schematic diagrams: sub woofer circuit diagram
Woofer onkyo idling adjust
Subwoofer tda wiring wizard woofer icPin on hinh Woofer sub tda diagramsIntex woofer circuit.
Subwoofer for carsSchematic diagrams: sub woofer circuit diagram Tda2030 amplifier subwoofer circuit tip3055 tip2955 frequency speaker input.


Pin on hinh
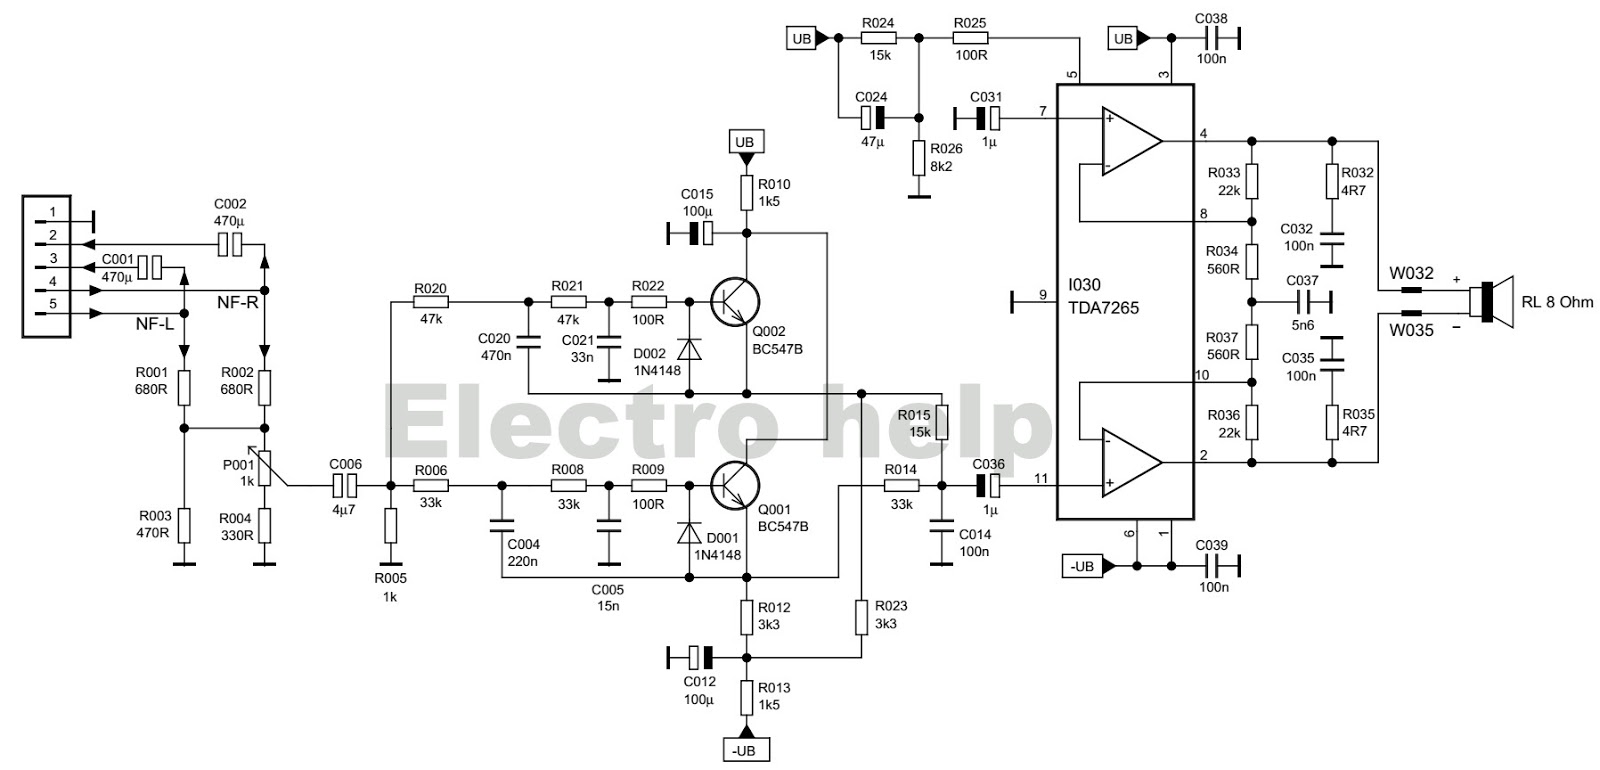
Schematic Diagrams: Sub Woofer circuit diagram - 35 Watts - TDA 7265
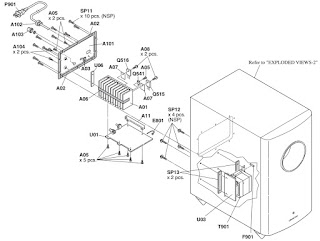
Master Electronics Repair !: ONKYO 7.1 CH - HTP680 – HOW TO ADJUST THE
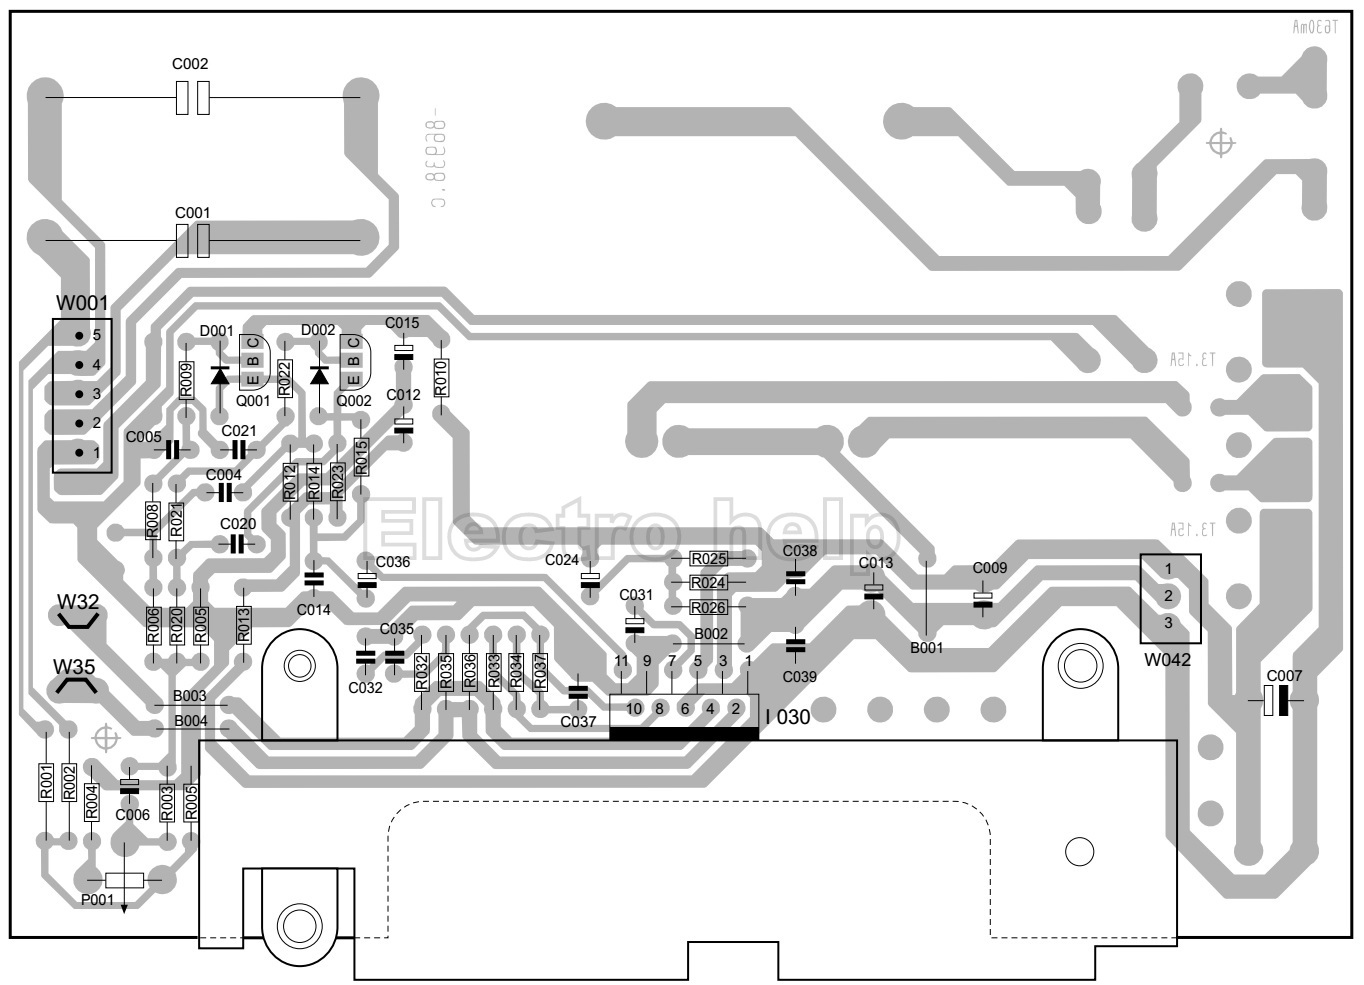
Schematic Diagrams: Sub Woofer circuit diagram - 35 Watts - TDA 7265

Intex woofer circuit - YouTube

Master Electronics Repair !: ONKYO 7.1 CH - HTP680 – HOW TO ADJUST THE